
And just like that 6 years go by without a blog post!
https://www.instagram.com/teessidepotter
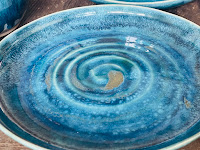
A stoneware vase made in the kiln. And a Raku bowl made in my garden.


There was a pandemic which put pay to all those lovely art classes I used to teach at Art from the Heart, then I started doing Urban sketching in lockdown, which I still really love doing.
Here are a couple of the watercolour paintings, from my Urban sketching Instagram page.


So in 2022 I did one 2 hour pottery class, and thought maybe I can do this.
I had always wanted to do pottery, even at school, they had all the equipment, and then the school teacher left who did the pottery. So I couldnt do it.
I did one throwing pottery class with Iona Crawford Topp at Croft Pottery in Rainton, and I was hooked. I went out and bought a wheel, I thought sod it, you only live once!
A shiny new Shampoo pottery wheel arrived :)
I had a kiln from a friend and never used it. so got it serviced and fired it up!


After many collapses of wet clay pots, they eventually started to stay up, and I had enough to fill the kiln for the first time.
These were my first ones.


It was only about a month into making pottery, I decided I would have a go at making glazes, as a geologist I had done my time as a geochemist and ground up many rock powders and understood a lot already about glaze chemistry. So gave it a whirl. Whats the worst that could happen? It was a success! I surprised myself!
Making Glazes below, you have to wear a dusk mask because you dont want those fine particles on your lungs.

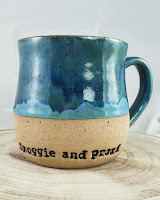
These mugs below are layered with 3 glazes I made called Selsor Chun, Chun Sea foam and Starry Night. I got the recipe's from John Britt, he's a brilliant teacher/glaze maker online :)


Now I make most of my pottery glazes, and they've worked out ever since the first time I made one!
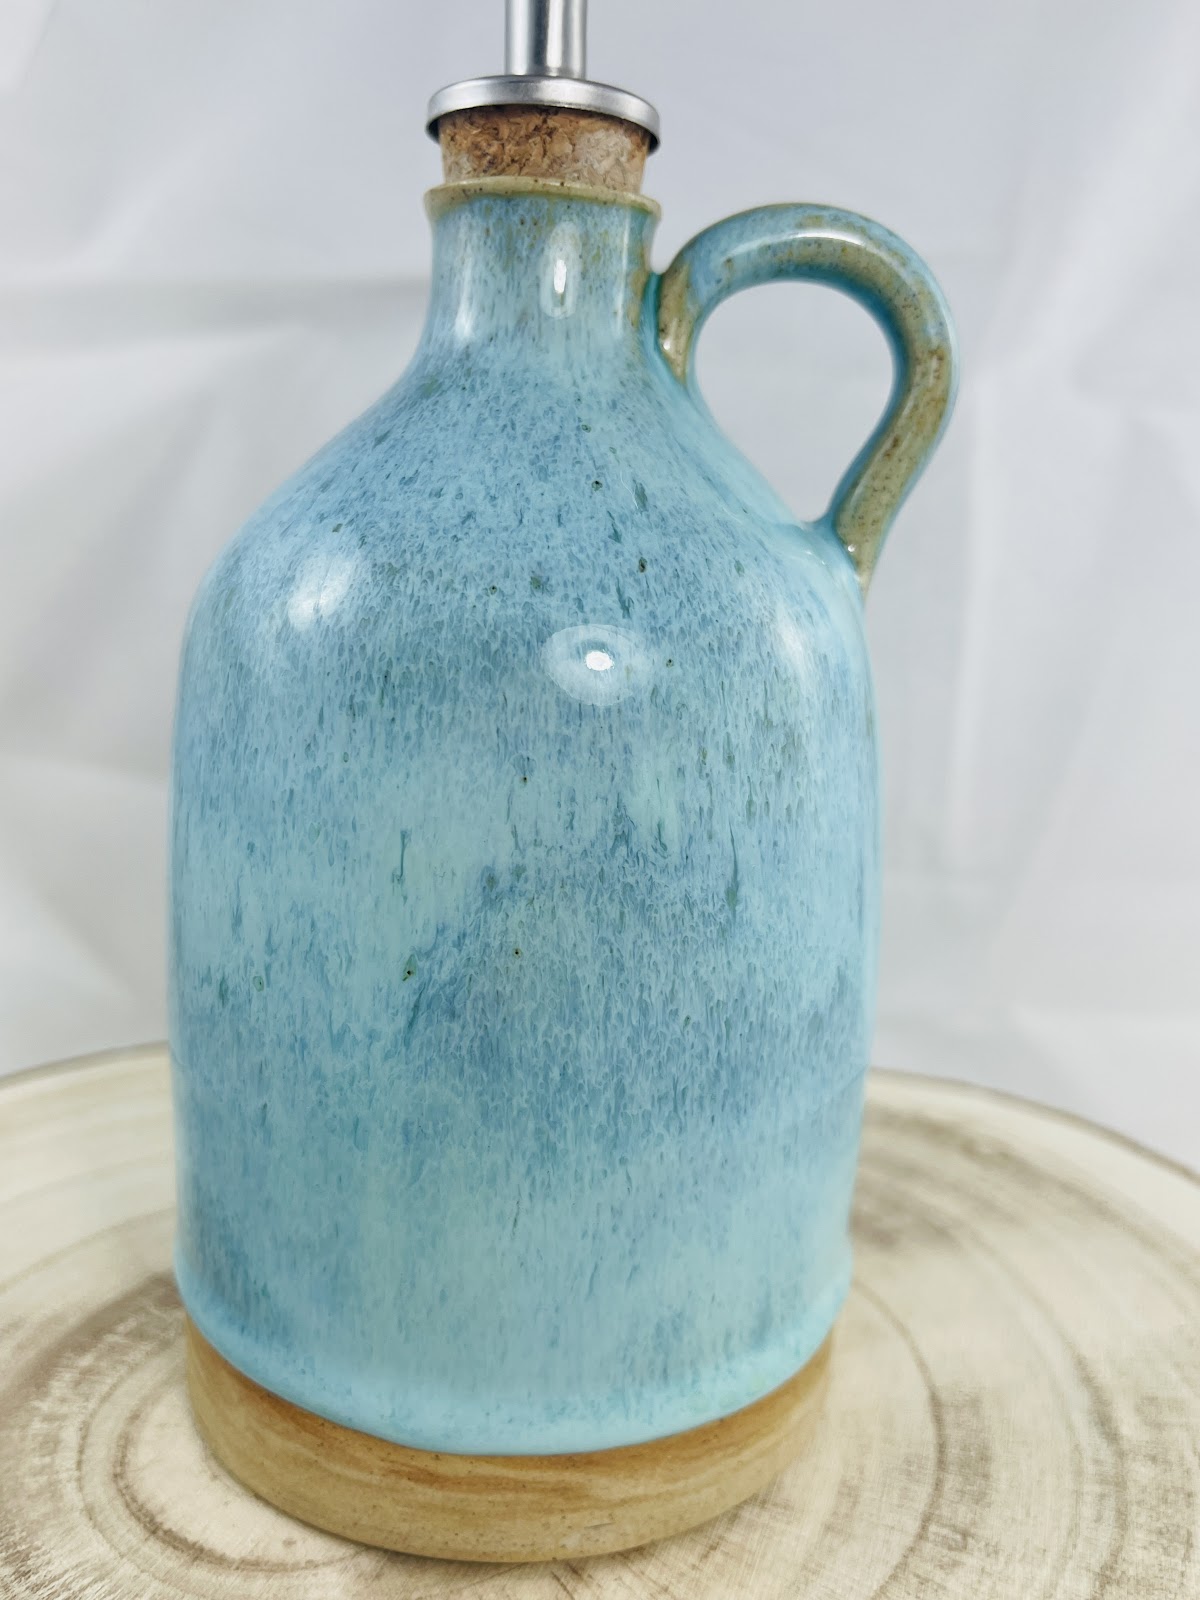
Stoneware Pottery
Here are some of my favourite Stoneware, Cone 6 fired pots I've made over the past 2 years.


Pots made waiting to be be fired for the bisque firing.

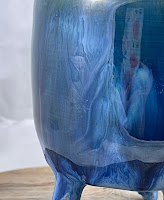
Raku Pottery
I sometimes do Raku pottery in my garden, I used to watch the Pottery Throwdown and I always wanted to do Raku pottery, its a bit dangerous, but I love the thrill of it!


I use an incinerator bin and a propane flame thrower. I fire up the bin/kiln up to 1000 degrees centigrade, take it out the kiln when its glowing hot and blow on it to make the crackles, then stuff it into some sawdust to starve it of oxygen. The oxides which are metallic, like copper and cobalt, turn to shiny metallics, but when they are oxidised they go either green turquoise or blue. I love the effect. I also made all my own Raku glazes. Using Stephen Murfit's recipes from his Raku book.
Its exciting to do! and you get quick results, instead of waiting 2 days for a kiln to fire and cool down. Raku only takes about 45 minutes!


I think creative people just have to have a making outlet, be it art, pottery, knitting, painting, writing or whatever, I just have to be doing something with my hands when I'm not working.
All my pottery stuff gets posted on my Instagram these days, I'm the Teesside Potter on there, there's more pics on there.
I always need a helper when I'm doing Raku, and here's Tracy with all her saftey gear on!
Thank you Tracy for lifting my bin lid!! lol :)

Thank you for getting this far down the page!!!